Like the air filter and spark plug, the carburetor of the generator also needs a periodic cleanup to provide optimum performance.
If it’s not cleaned, your generator will burn more fuel, provide fluctuating voltages, and misfire, or, in harsh cases, you may have to try hard to even start the generator.
In this article, I am going to show you how to clean a generator carburetor safely within a few beginner-friendly steps.
Moreover, I am going to share some obvious symptoms that indicate that our generator’s car is crying for a deep clean-up.

How to Clean a Generator Carburetor?
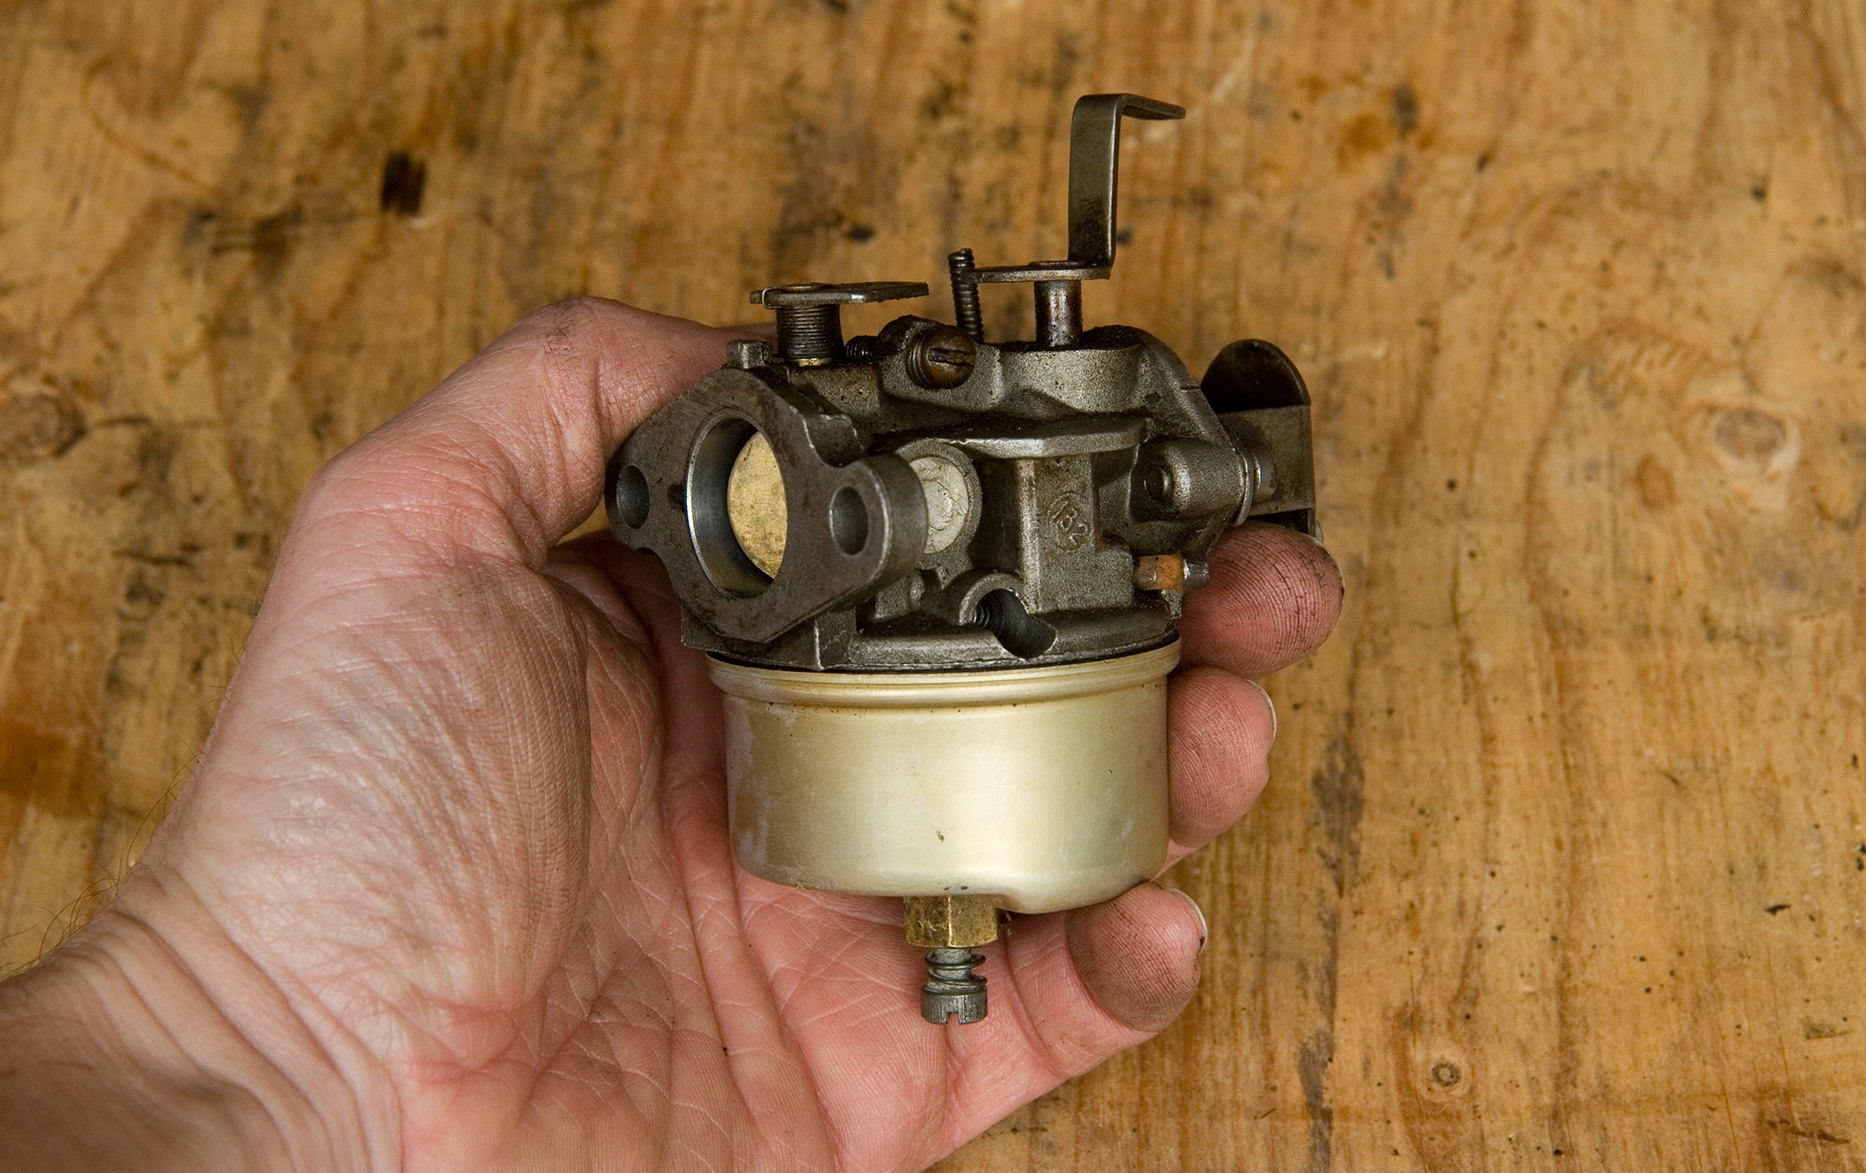
Each generator has slightly different carburetors in design and shape, and you may find them at different locations.
Below is the universal method to clean the carburetor; however, for locating the carburetor,.
1. Prepare the Tools and Safety Equipment:
Following is the equipment we are using to clean the carburetors of the generators.
- Flathead screwdrivers (small and big).
- Pliers (include a nose plier as well).
- Socket and ratchet (8–10 millimeters, depending on the size of your carburetor main bolt)
- Carb cleaner.
- Safety goggles.
- A pair of gloves.
NOTE: Before starting the cleaning process, please go through the user manual to avoid any incidents. Below are some safety precautions we must take before cleaning the carburetor.
- We place the generator in a well-ventilated area.
- We make sure there is no fire or heat source around the generator.
- We avoid sharp objects. One of my friends tried to inject fuel into the carburetor with an injection, but accidentally, the injection penetrated his hand, and believe me, he was in great pain. He almost suffered for 10 days due to that foolish act.
2. Turn off the Machine and Locate the Carburetor:
Remove the air filter cover and air filter. Inside the air filter hose, you will find a few screws, depending on the model of the generator.
Unscrew them with the help of a socket and rachet, and remove the breather tube as well.
Note: Inverter generators mostly have a carburetor in the enclosure; you have to remove the enclosure with a flathead screwdriver; however, in an open-frame generator, you can find them at the bottom behind the air filter assembly.
3. Drain the Fuel From the Carburetor:
Inverter generators have a decent fuel drainage system; you just have to locate the drainage tube and follow the user manual to drain the excessive fuel; however, in the case of an open frame, you have to turn off the fuel valve.
4. Disconnect the Fuel Lines and Replace the Gaskets if Needed:
Unclip the fuel lines with a nose plier and deeply examine the gaskets. If you find any crakes or broken surfaces, make sure to replace them.
5. Remove the Carb and Clean Its Body:
Inverter generators mostly have electronic throttle control on top of the carb with a plastic body and some wiring; you just have to remove the wires and the carb.
In the case of open-frame old or newer models, you will find a governing rod and spring that should be removed safely before removing the carb.
After removing the carburetor, make sure to use the carb cleaner or gasoline to clean the body of the carburetor. Make sure to wear a pair of gloves and safety glasses before using the carb cleaner.
NOTE:
- In the case of an open frame generator, you have to slightly move the carb, remove the governing rod, and then spring.
- In the case of an inverter generator, you have to remove the electronic throttle control before removing the carb.
6. Remove and Clean the Flowing Bowl of the Carb:
Unscrew the float bowl bolt of the carb located on the bottom and the gasket on the edges; don’t remove the drain bolt. Apply a few sprays of carb cleaner in the flowing bowl and remove unnecessary dirt, debris, and rust with a brush or the tip of a flathead screw if needed.
Furthermore, I mostly have a tray to accumulate the bolts and gaskets of the carburetor. In case they are lost, you may have to struggle to find the same parts.
NOTE: Inspect the gasket that seals the flow bowl and carburetor; make sure to replace it even if you find some minor cracks.
7. Remove and Clean the Float Pin and Float/Flow of the Carb:
The float pin is located inside the flowing bowl; you just need to remove the float pin by pulling it in the backward direction and removing the float or flow.
Apply a few sprays of carb cleaner to the flow and float pins; also, make sure to clean the tips of the flow pin and float valve with cotton buds dipped in carb cleaner.
NOTE: Inspect the condition of the float pin, float valve, and float; if you find any rust, broken surfaces, etc., this could be the reason for fuel leakage.
8. Remove and Clean the Main Jet and Nozzle:
The main jet is mostly located inside the center post or hole; remove the main jet with the flathead screwdriver and remove the nozzle behind it.
You will find small holes in the body of the nozzle and the main jet. Take the carb cleaner and hit a few sprays through the main holes of the jet and nozzle, and clean the holes with a small metal wire if needed.
Spray some compressed air after the cleaning process.
Note: If you find the main jet on the side of the center post or hole, the nozzle should be fixed. We highly recommend watching the video below to see what types of carburetors are available on the market and how to clean them.